patient-information-management-system
Patient Information Management System (PIMS)
Welcome to the Patient Information Management System (PIMS). This project efficiently manages patient information within healthcare settings. Developed on Django and utilizing SQLite, PIMS offers a robust solution for healthcare data management.
Note: This project is an adapted version, all credits belong to the original developer, Sumit Kumar. It is used solely for educational purposes.
Features Added:
Added, Changes, and Fixes:
- Added User Settings Form: Implemented a user settings form to allow users to update & manage their profiles.
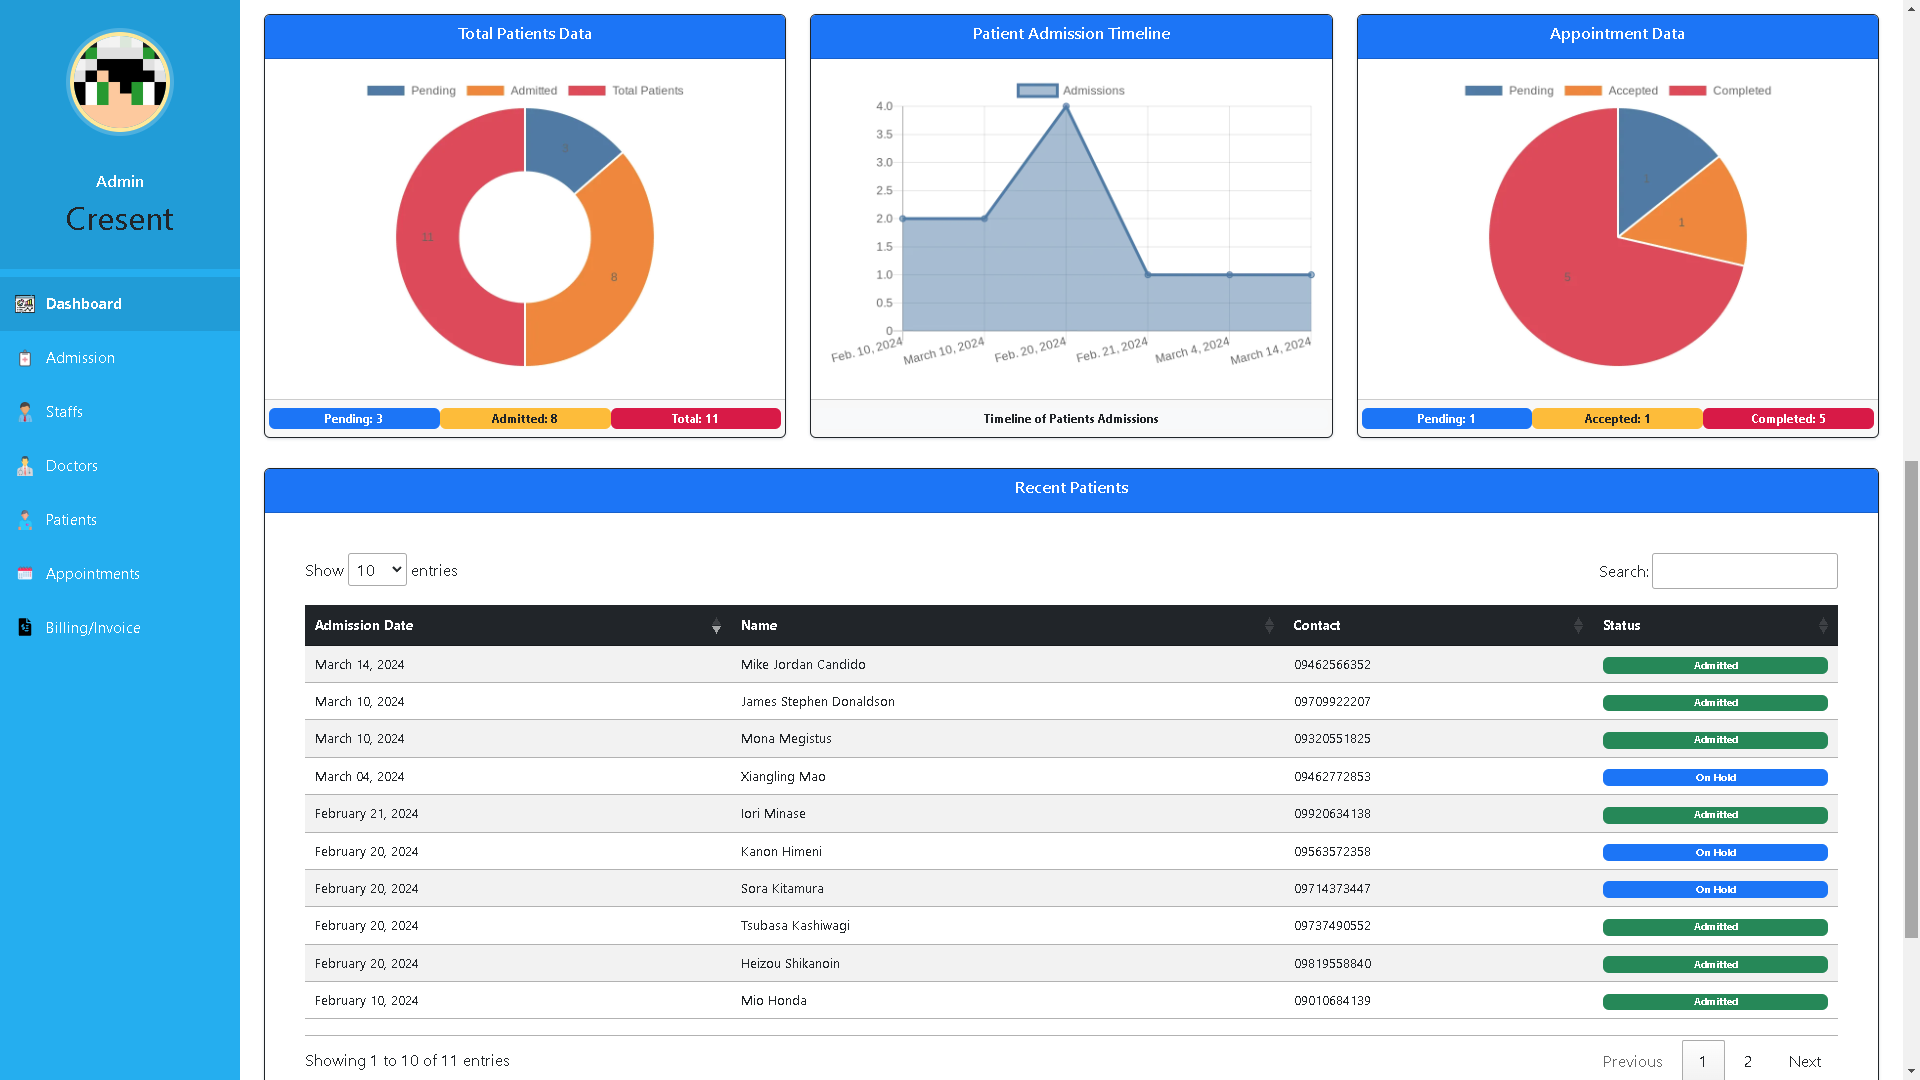
- Added New Charts on Admin Dashboard
- Admin, Doctor, Patient Dashboard Overhaul
- Floating Forms with Toggleable Passwords
- Admin can view Doctor, Patients Records
- Admission for Already Registered Patients
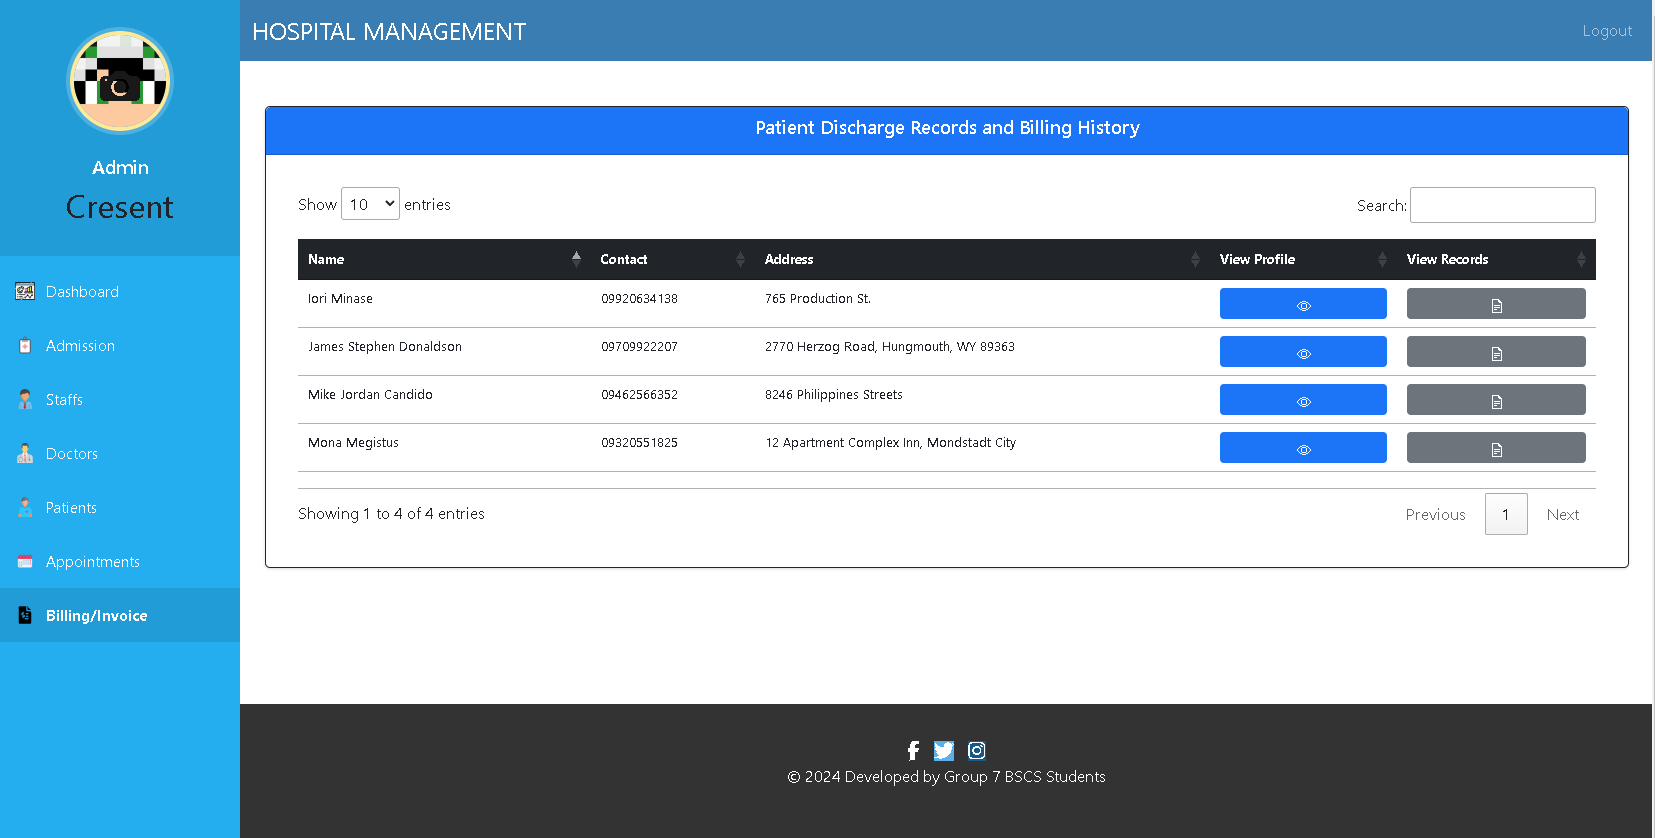
- Bills Management and View History of Invoices of Patients
- Email Notification System
- In Discharge Patient: After marking the bill of the patient as paid, their account will be deactivated and ready for readmission in the future, eliminating the need for patients to register again.
- Receptionist User: Introduced a Receptionist user subgroup within the Admin group, providing restricted access without is_superuser permissions and limitations on accessing the Staff Panel or viewing and updating staffs.
- Improved Contact Us Form: Enhanced the Contact Us form for better communication and user interaction.
User Experience Enhancements:
- Integration of Main Functions: Combined various main functions into a single page rather than segregating them.
- Streamlining Data Actions: Managed different data actions within each profile for better organization and efficiency.
- Register Forms Validation: Adjusted register forms so validation does not occur initially.
- Billing Management: Transferred billing management responsibility from Admin to Staff, aligning with appropriate roles.
- Strong Passwords & View Toggle Password for All Users: Implemented strong password functionality with the ability to toggle password visibility.
- Session Timeouts: Automatically logs out users after a certain period of inactivity or when the browser is closed.
- Avatar Menu Update: Users can easily change their profile pictures with a few clicks.
- Staff Admin Validation/Approval: Only SuperUsers can see and approve new user registrations.
- Doctor Status Toggle: Doctors can conveniently update their availability status for appointments.
- Bootstrap 5 Integration: Upgraded to Bootstrap 5 for enhanced design and functionality.
- Appointment Scheduling: Allows scheduling appointments for Admins, Doctors, and Patients (pending approval).
- Authentication: Implemented authentication for Staff, Doctors, and Patients.
- Updated Staff Dashboard: Staff/Admin can manage profiles, update, or delete doctor and patient information.
- Doctor Appointment Management: Doctors can schedule appointments for patients within their department.
- Doctor Approval System: Doctors can accept/reject appointment requests from patients.
- Patient Appointment Booking: Patients can request appointments, pending approval from assigned doctors or staff members.
- Doctor Appointment Status Update: Doctors can mark patients’ appointments as “COMPLETED.”
- About Us Section: Added a new page providing information about the hospital.
Bug Fixes and Improvements:
- Upgrade to Bootstrap 5: Replaced Bootstrap 3 with Bootstrap 5, resolving CSS conflicts.
- User Interface Adjustments: Optimized for mobile and tablet devices.
- Enhanced User Experience: Made cards clickable for improved usability.
- Integration of Static Icons: Replaced deprecated icon links with static icons.
- SweetAlerts2 Integration: Improved user interaction with SweetAlerts on CRUD operations.
- Logout Redirections Update: Users are now redirected to their corresponding login pages instead of the index.html.
Planning/ Implementation:
- Password Reset Functionality
- Email Verification (6-digit code)
- Planning to change Schema DB for HospitalStaff and Doctor to have Shift Time (Schedules)
- Prescription System For Doctors & Patients (2025)
- Pharmacy Management System (2025)
- Chat Rooms (2025)
Screenshots
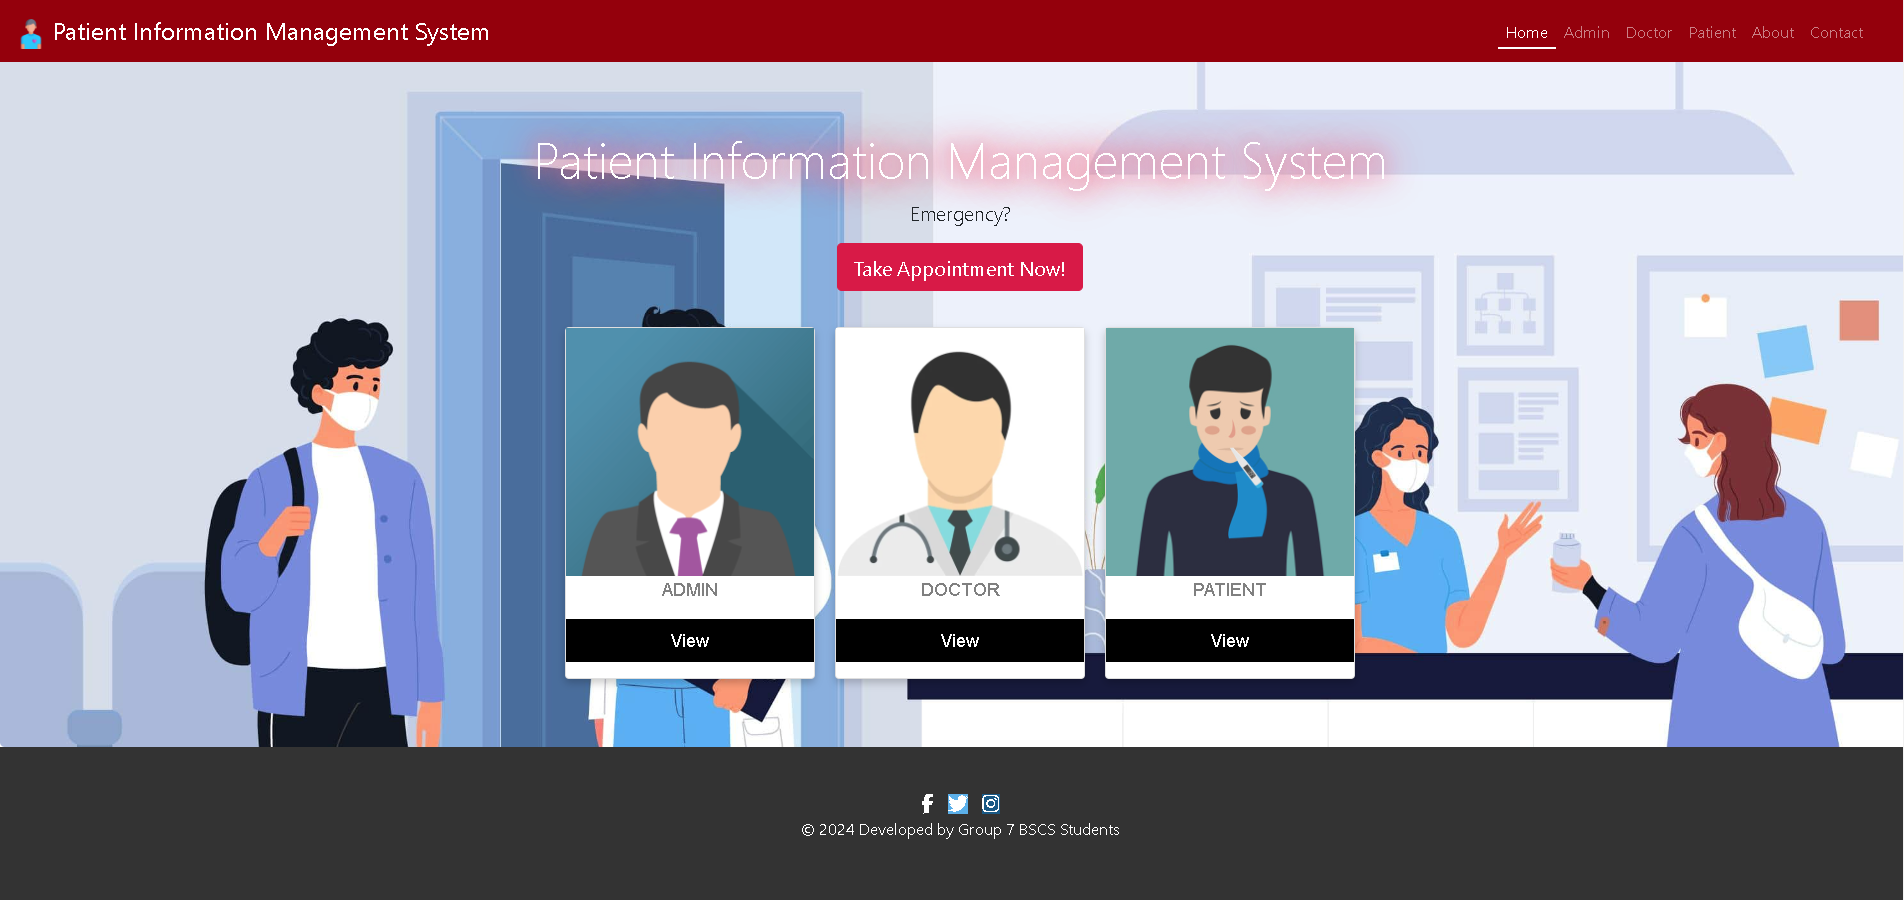
Homepage
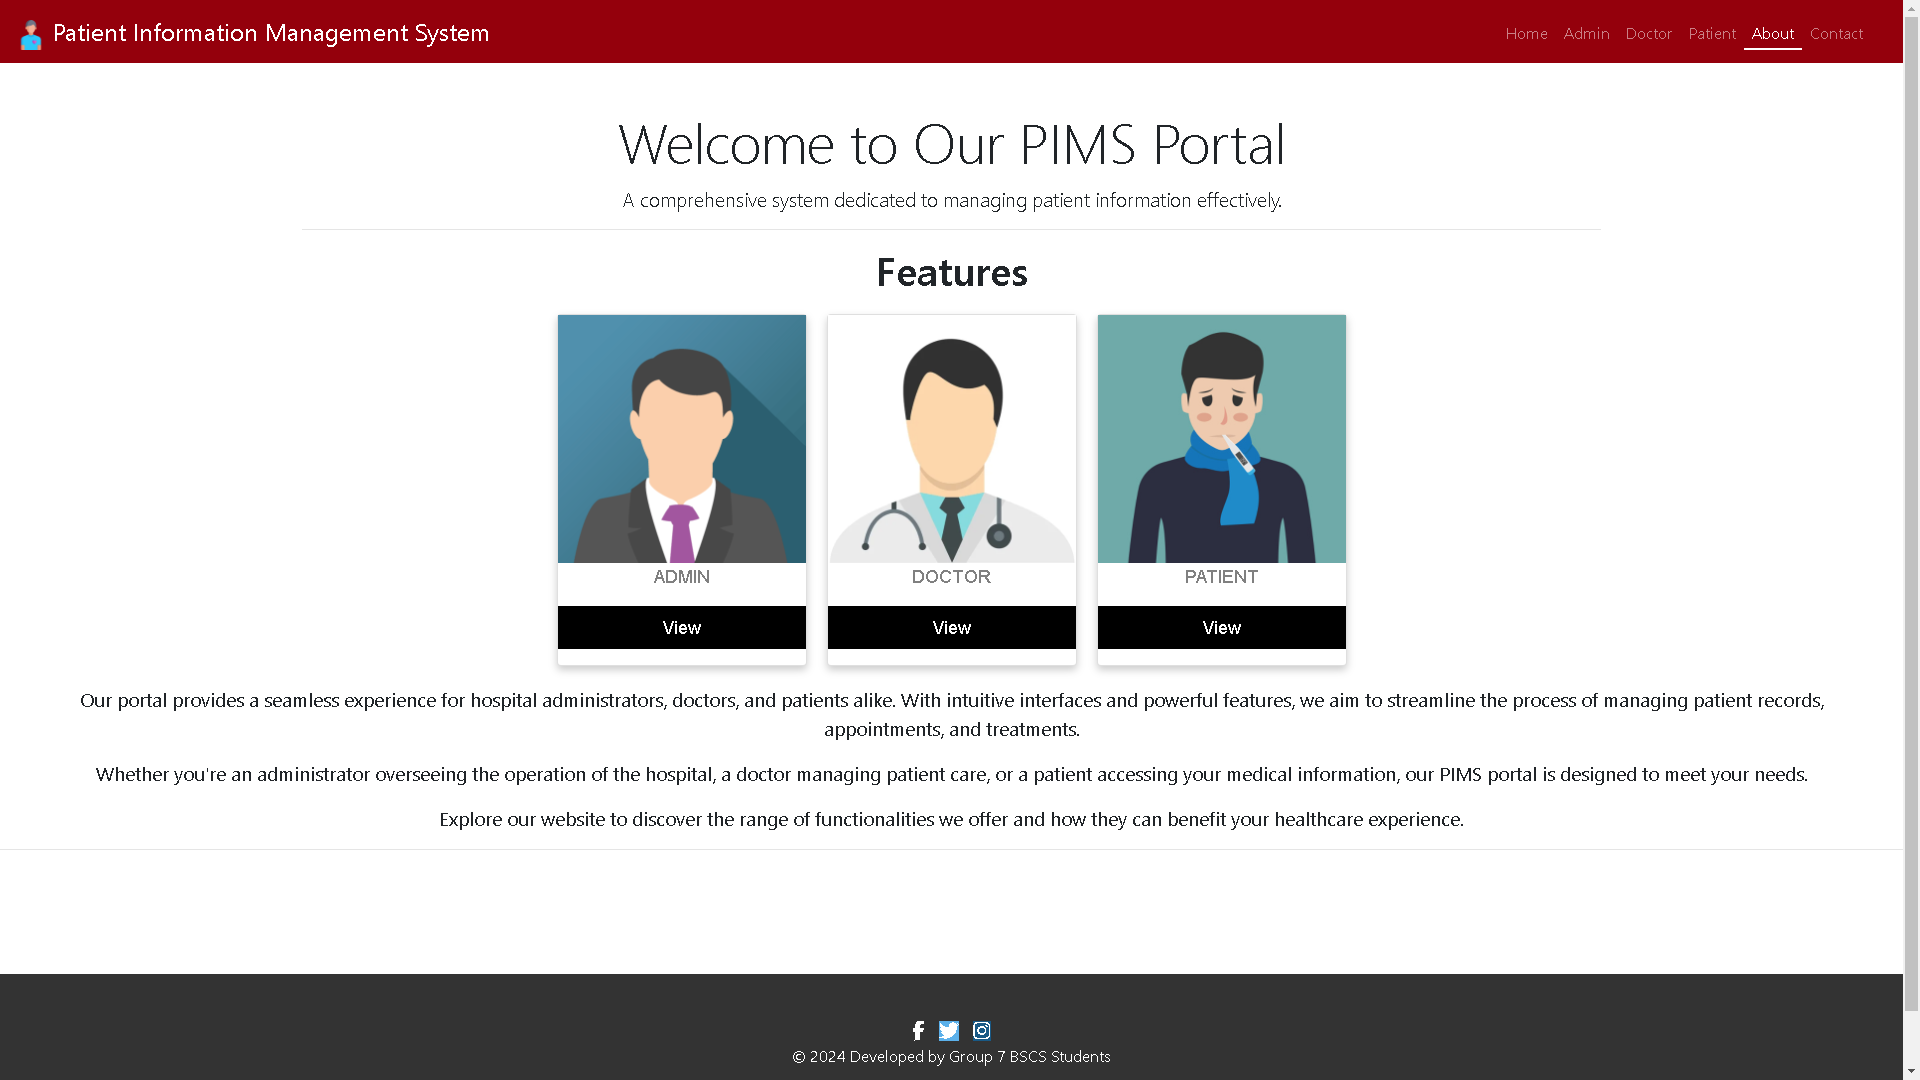
About Us
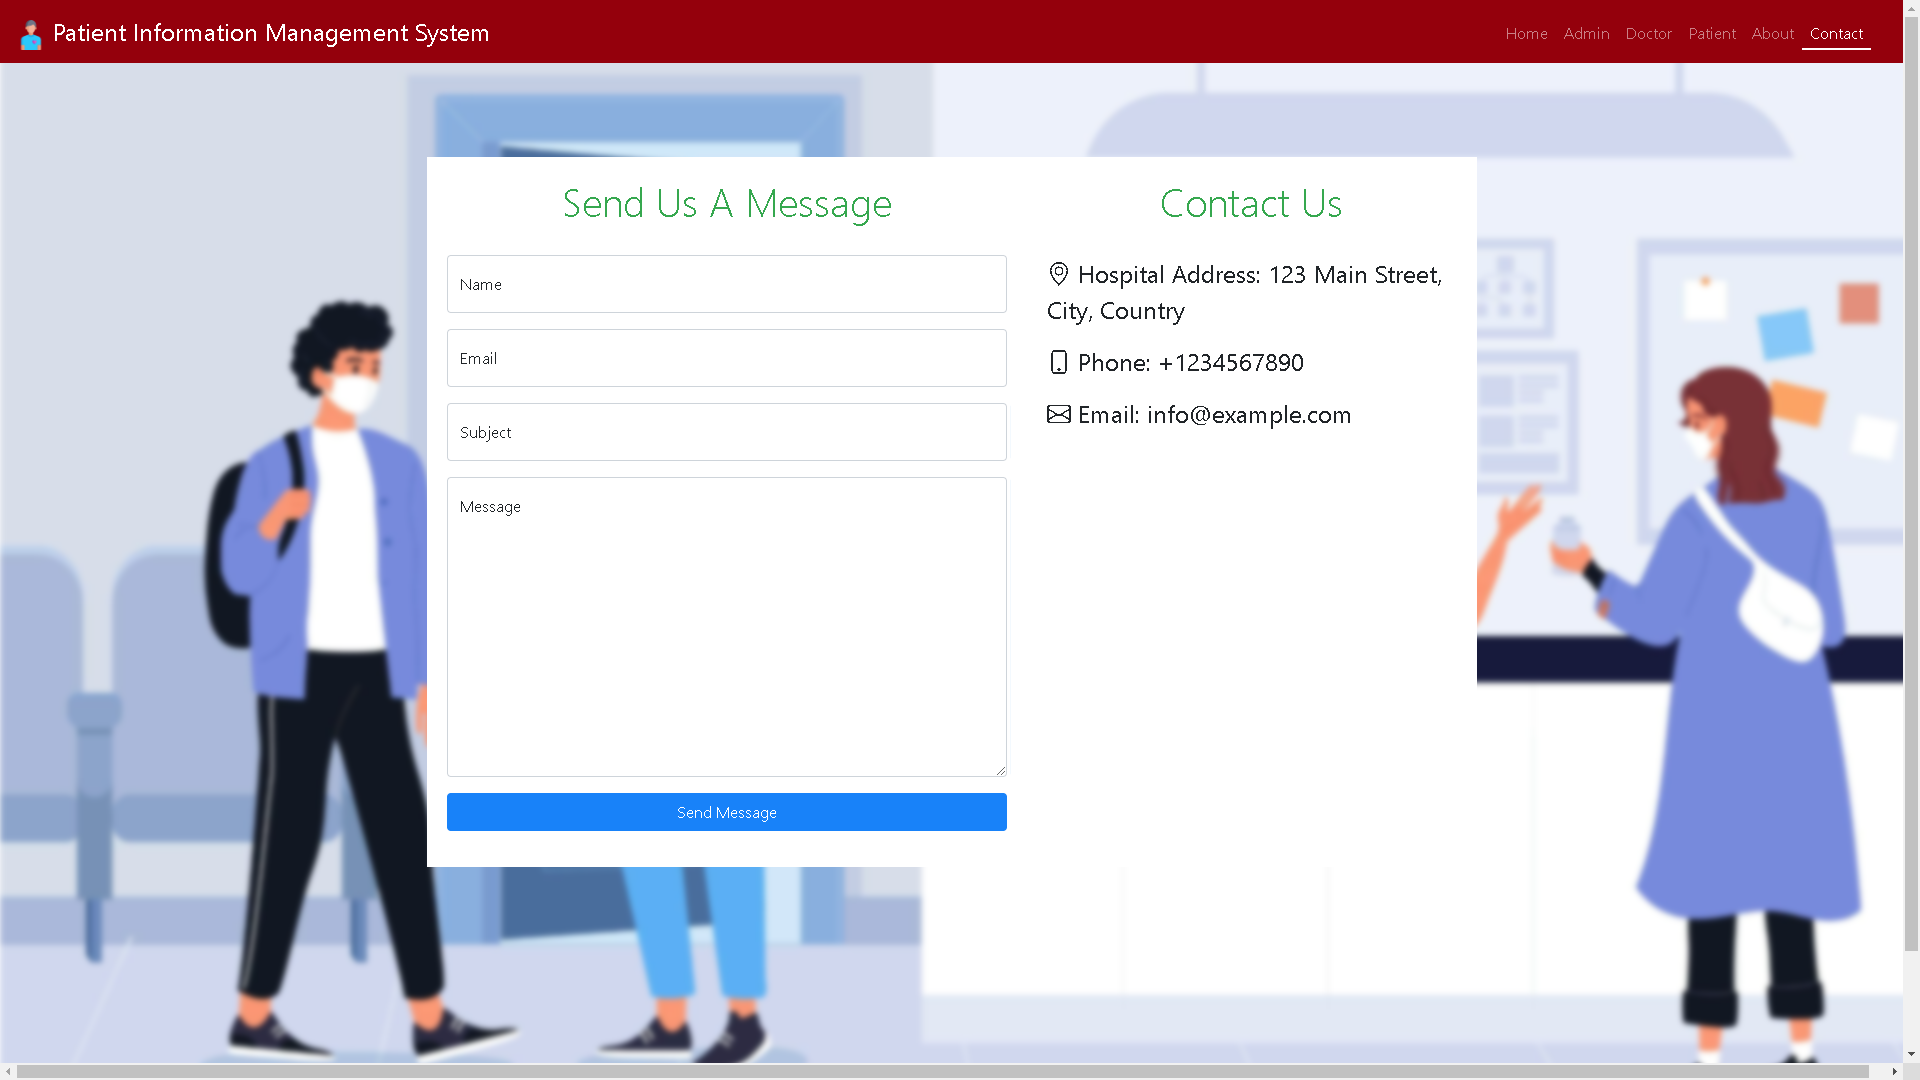
Contact
Admin User
Admin Dashboard1
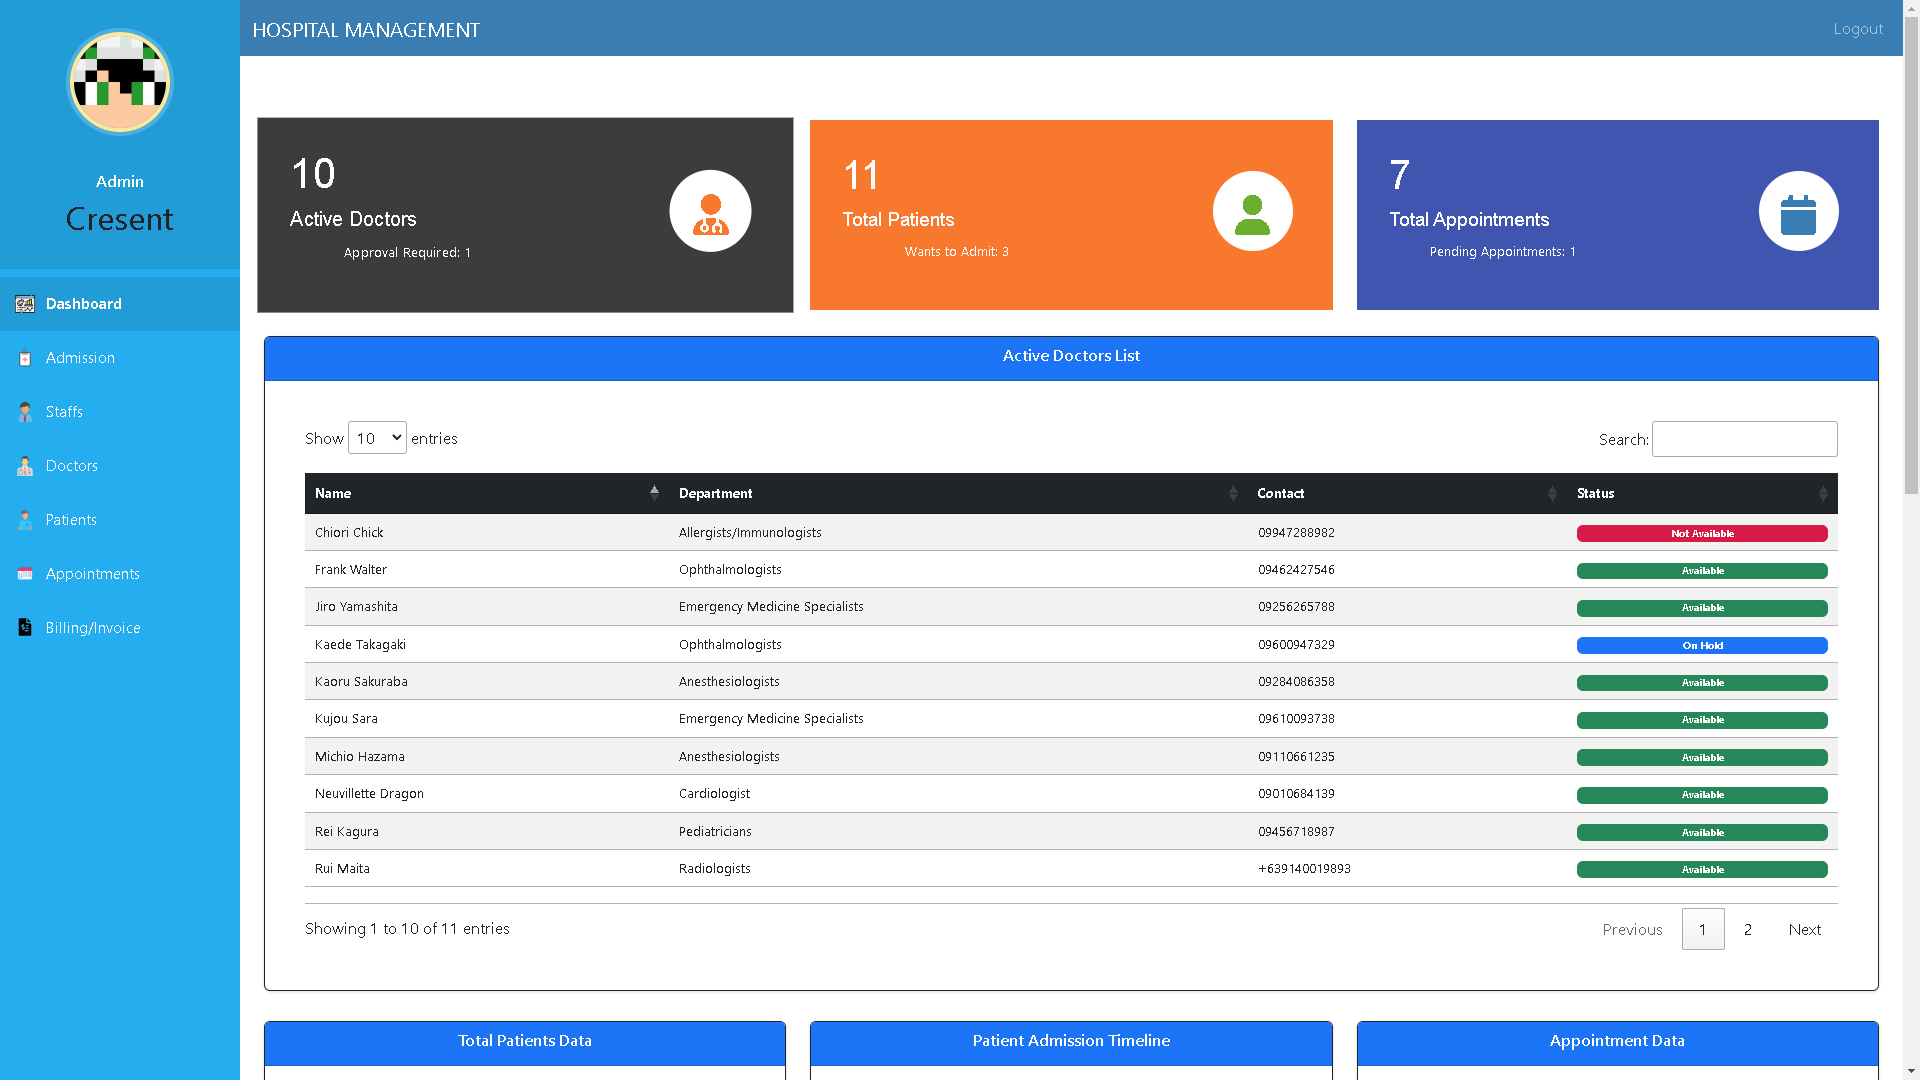
Admin Dashboard2
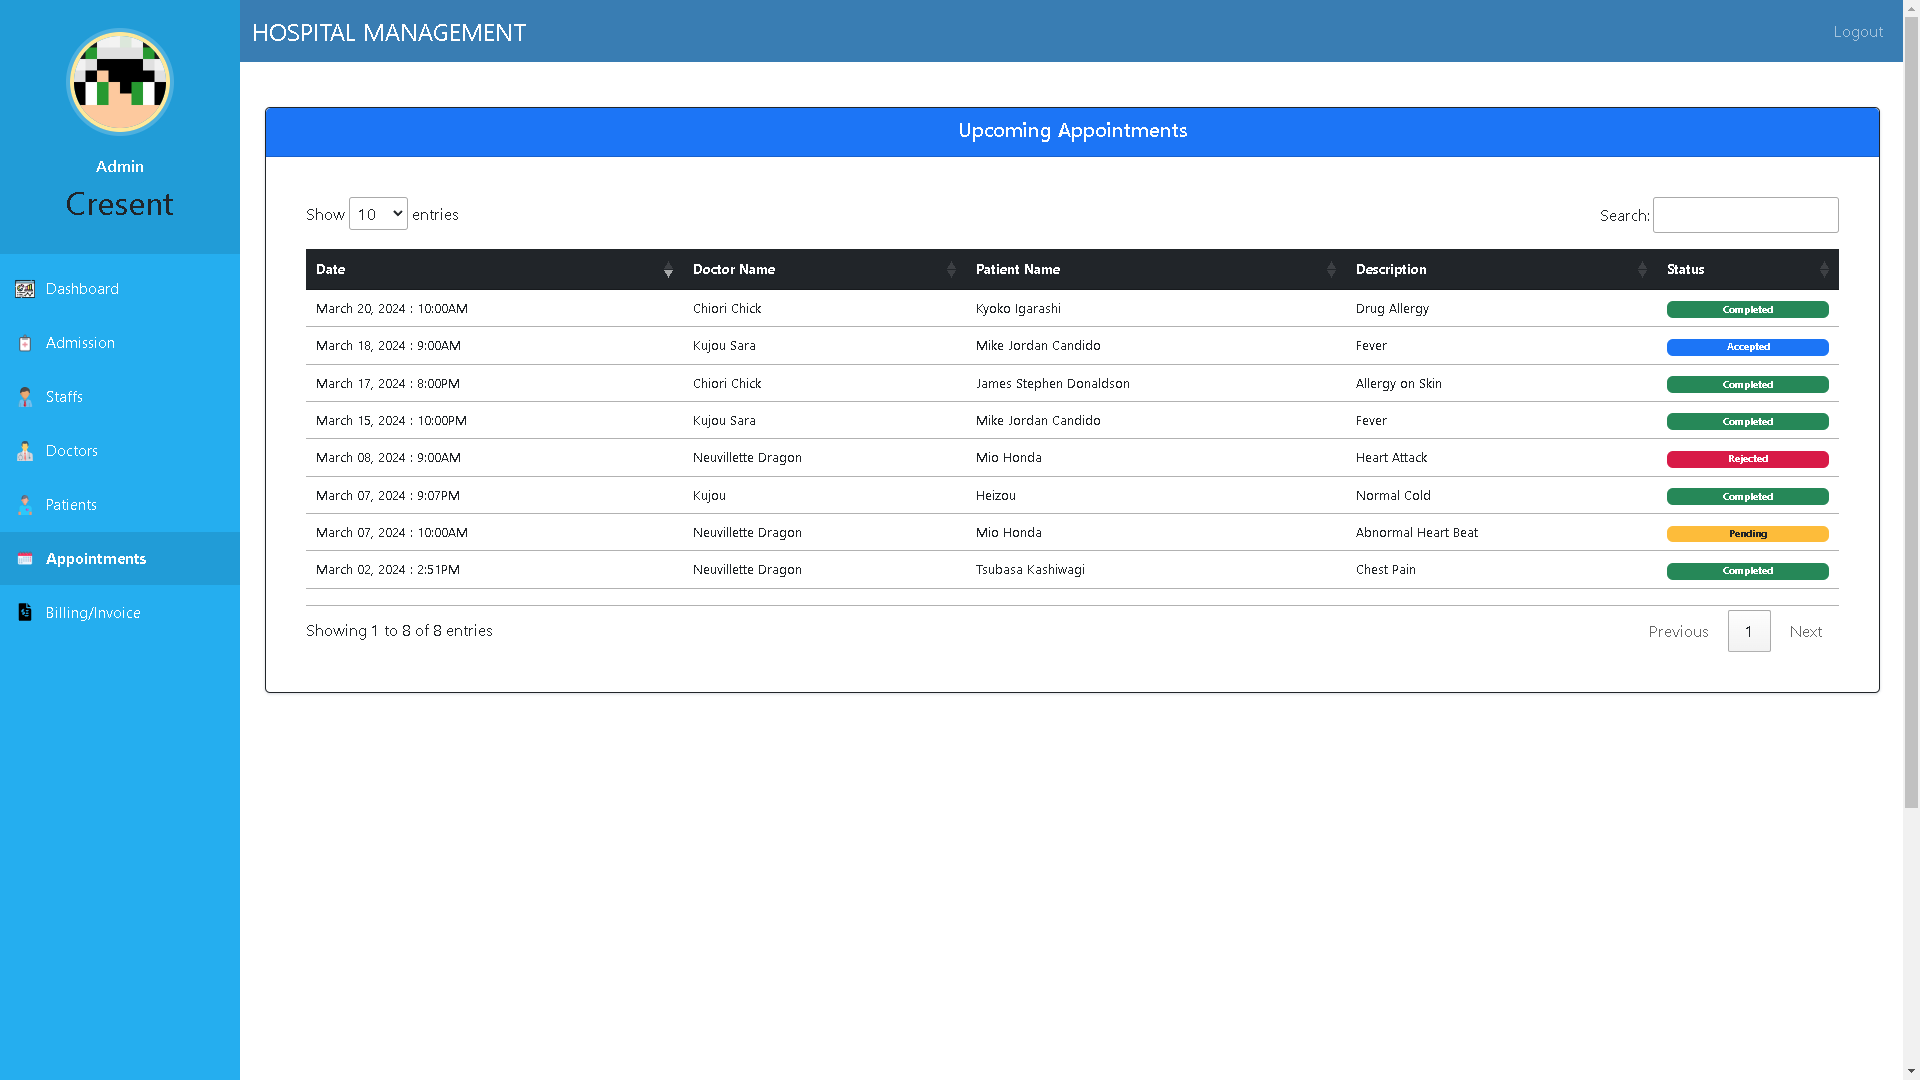
Appointments
Billing Invoice History Records
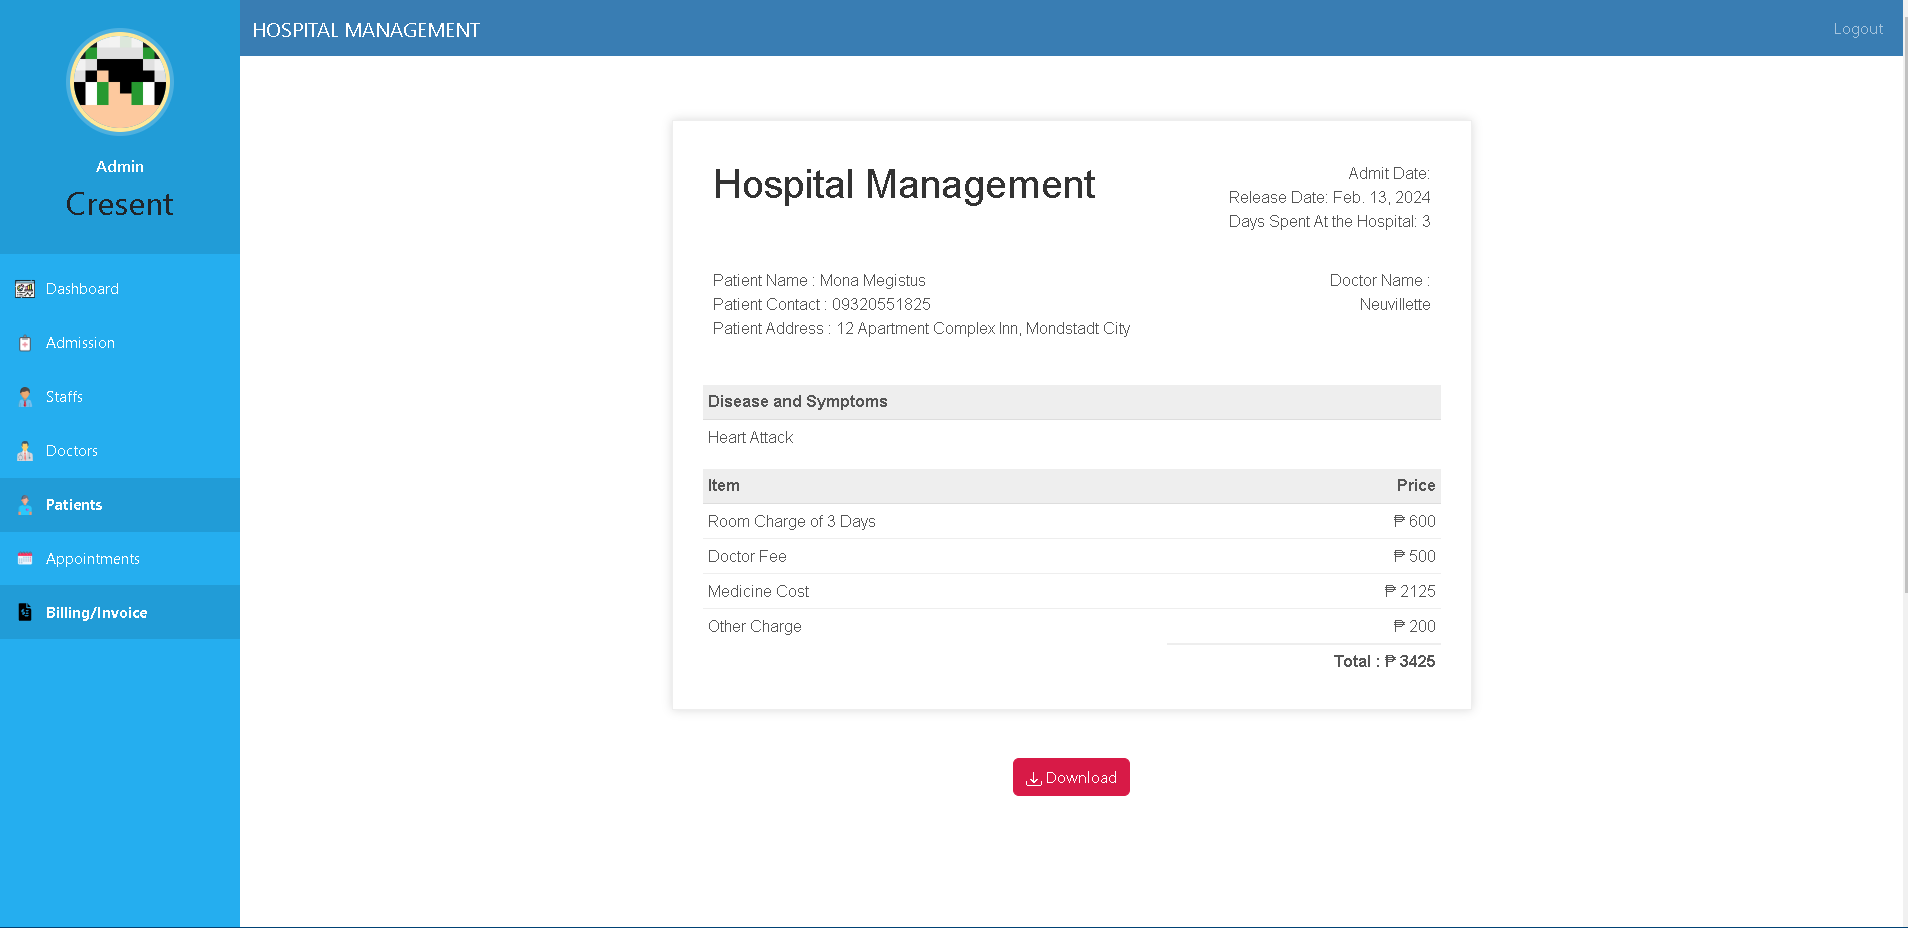
Invoice
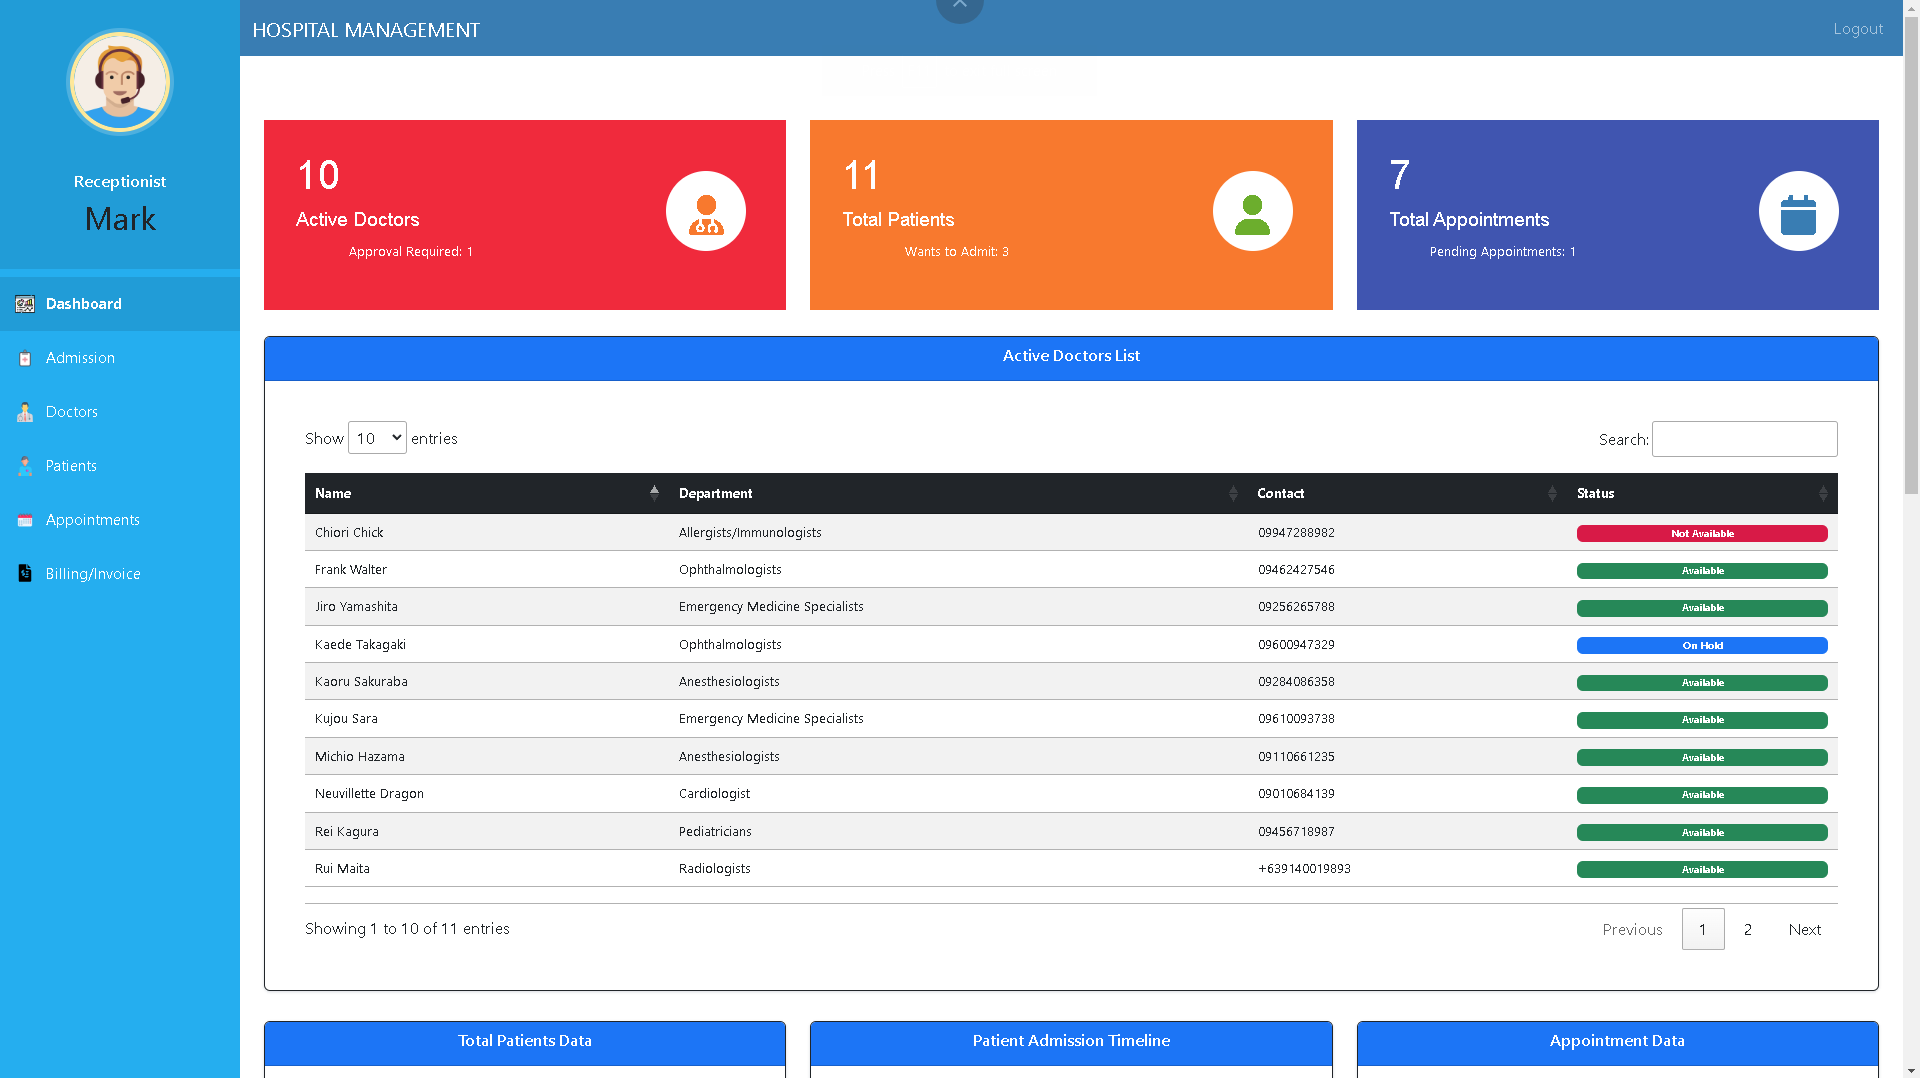
Receptionist
Receptionist Dashboard
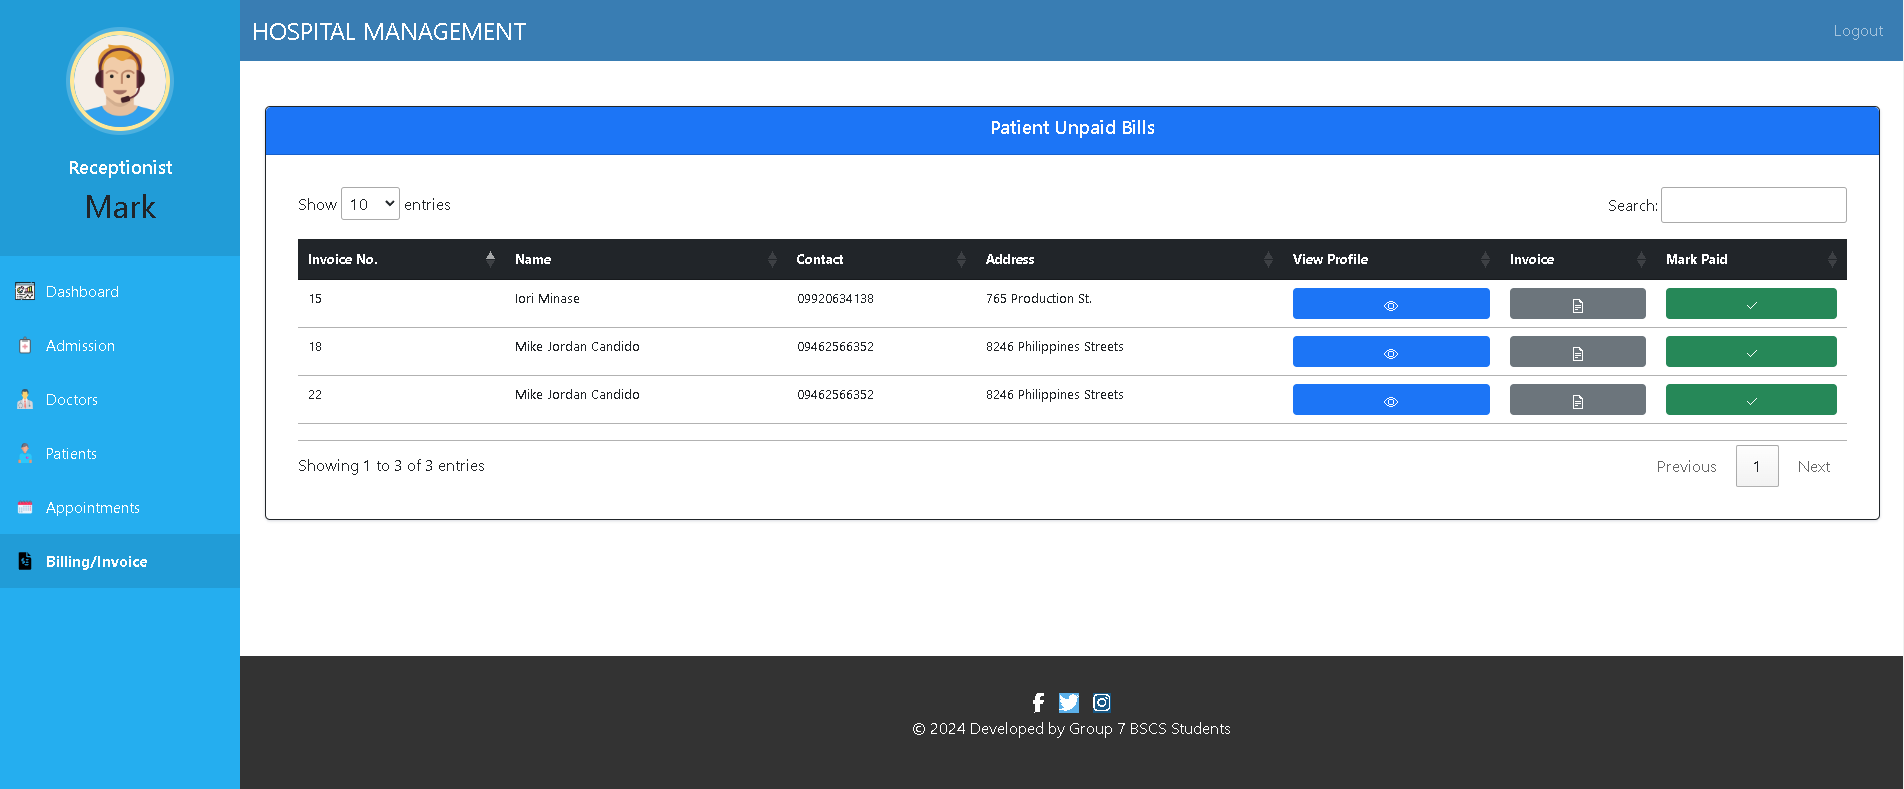
Receptionist Payment Management
Doctor
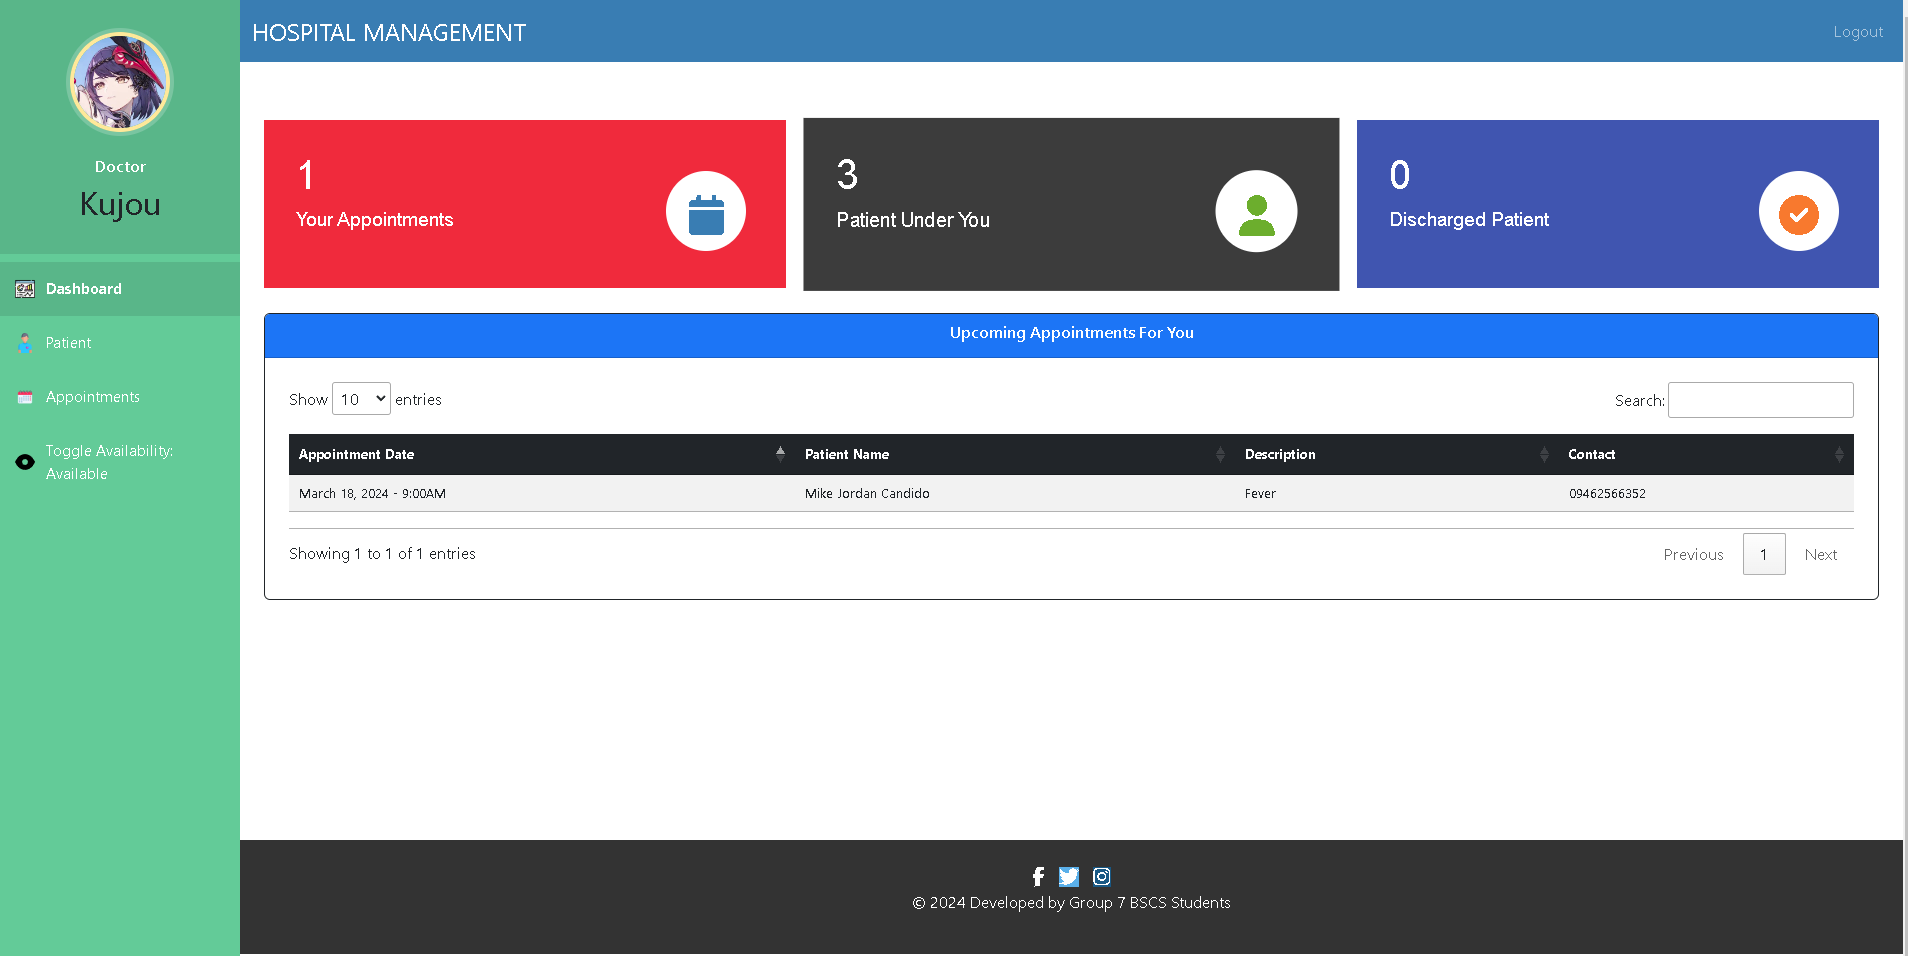
Doctor Dashboard
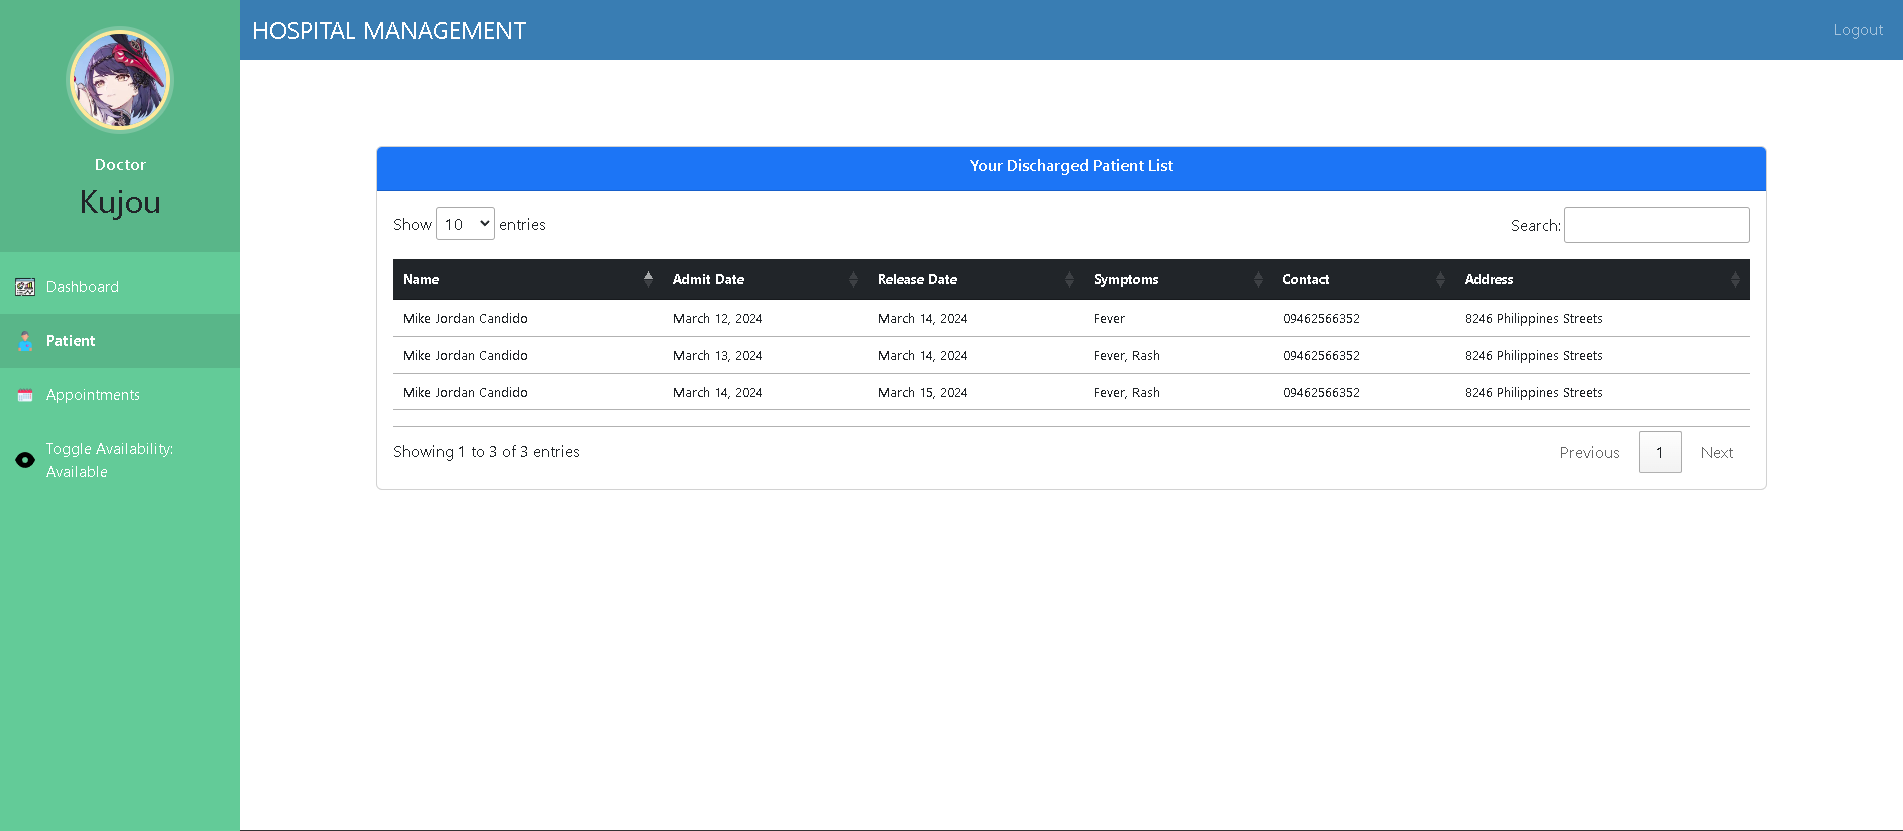
Doctor Discharge Records
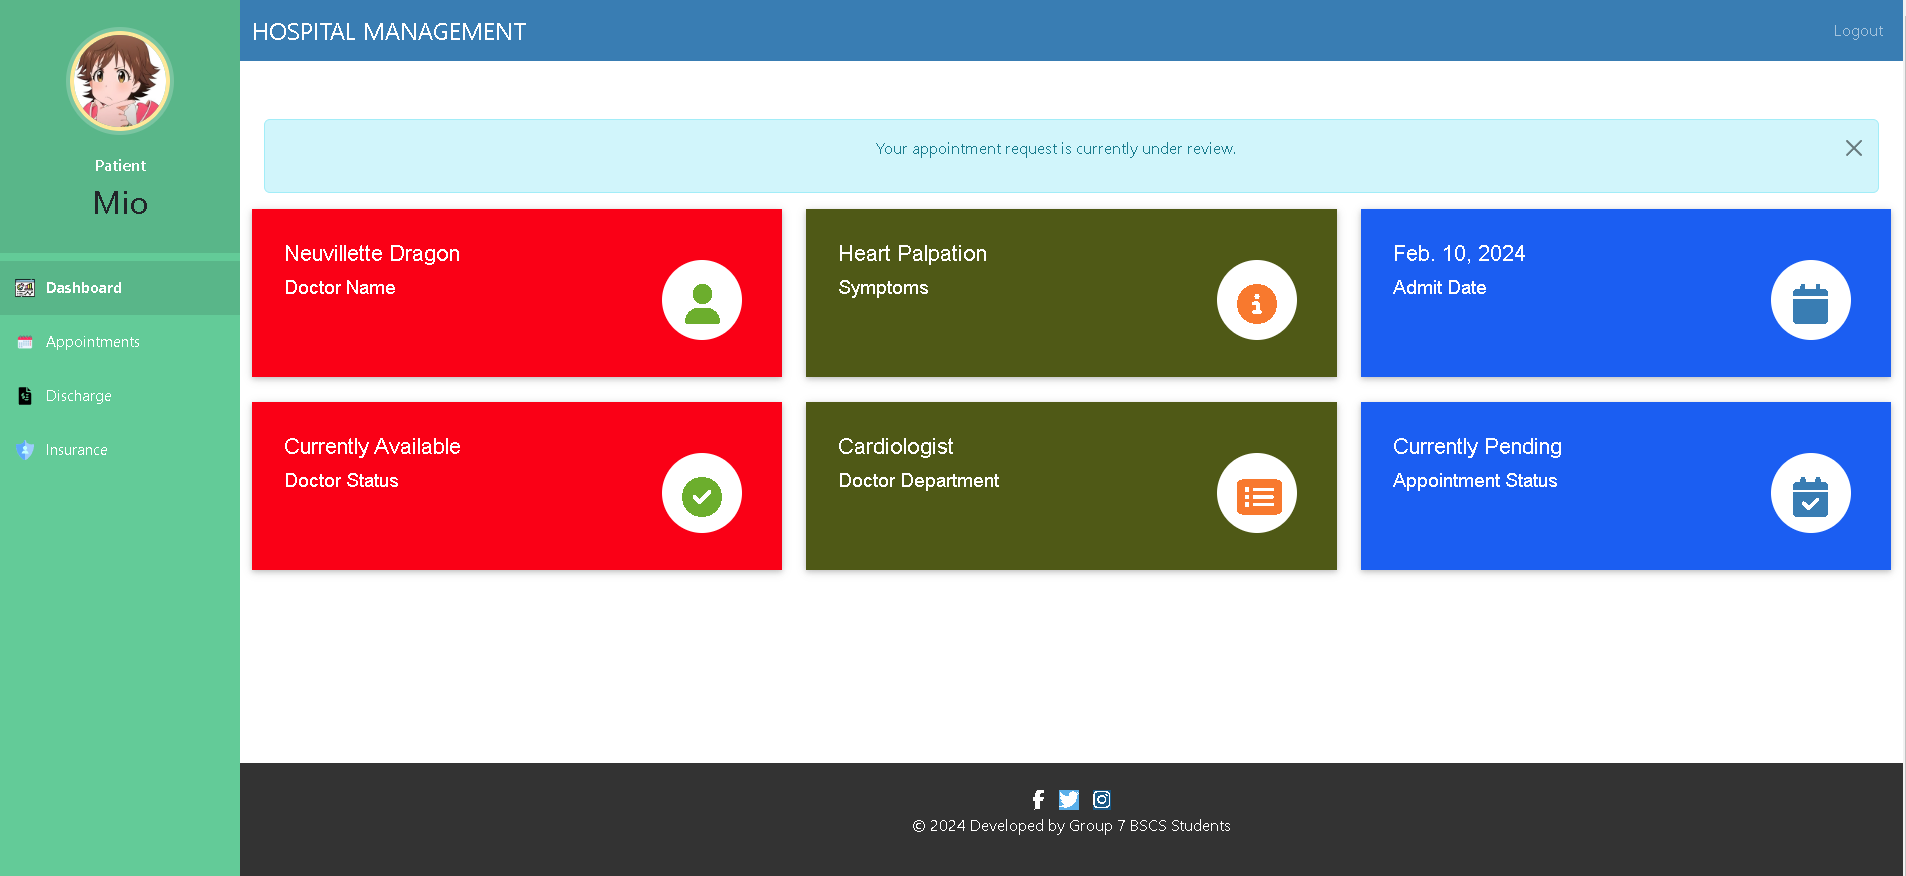
Patient
Patient Dashboard
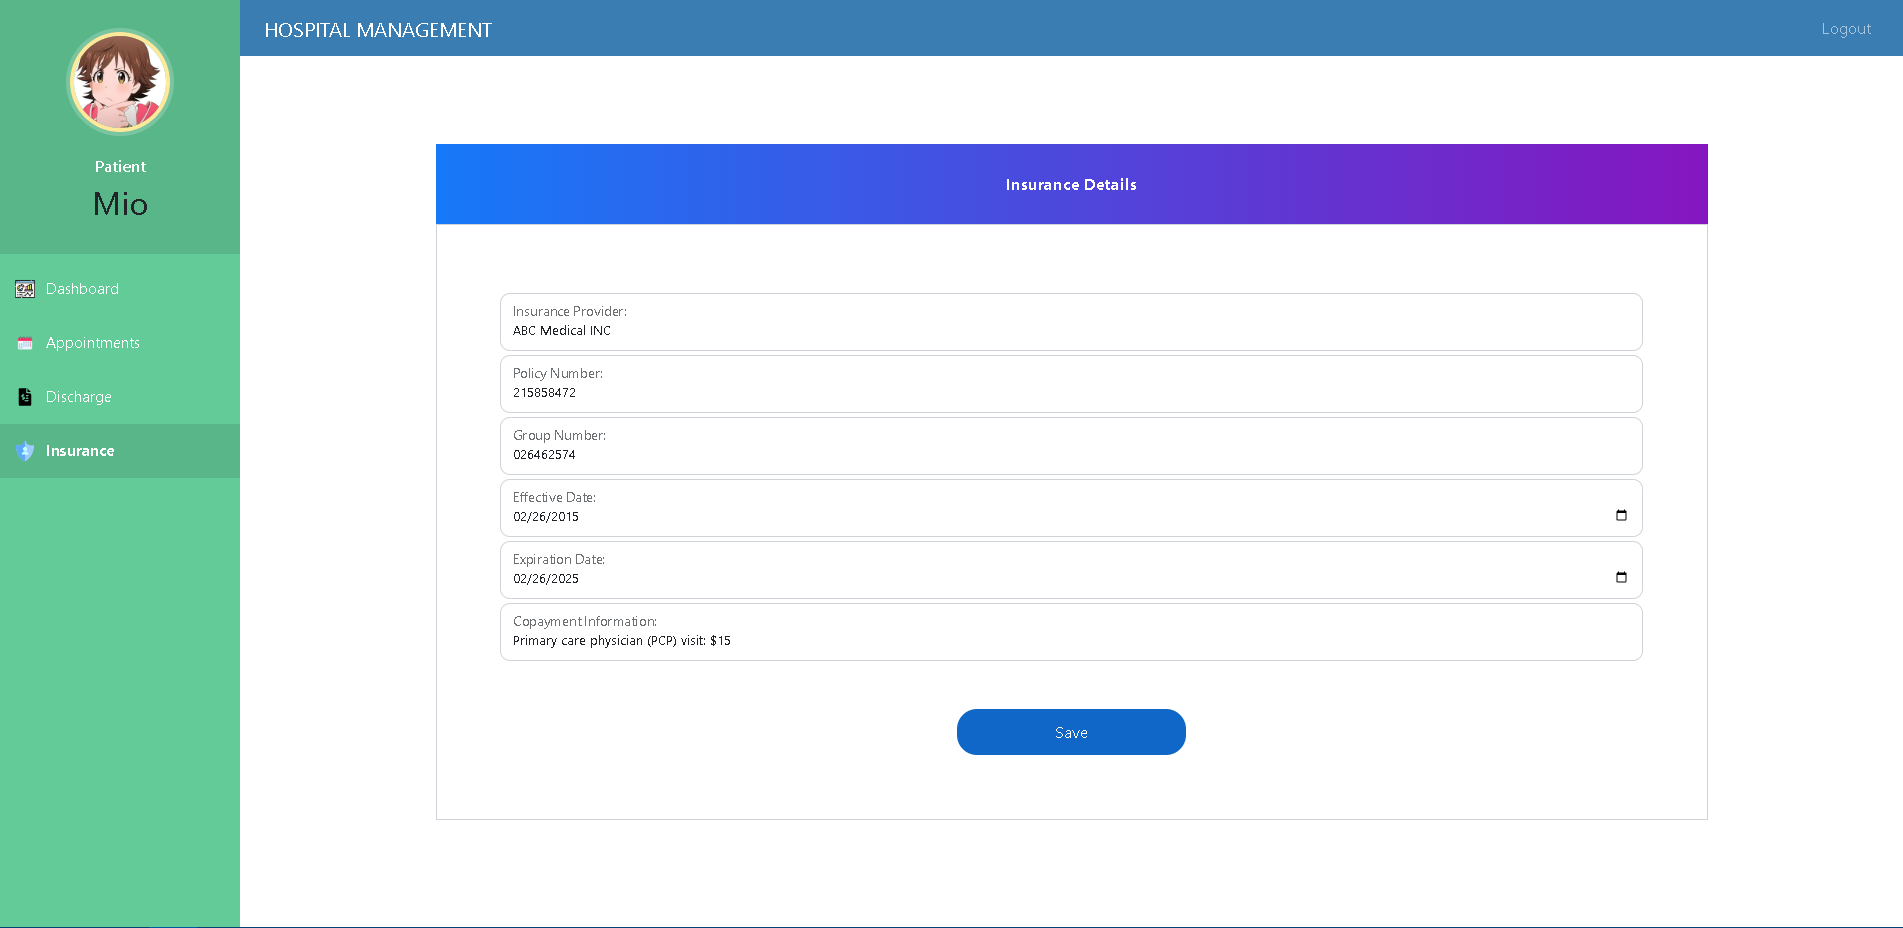
Patient Insurance
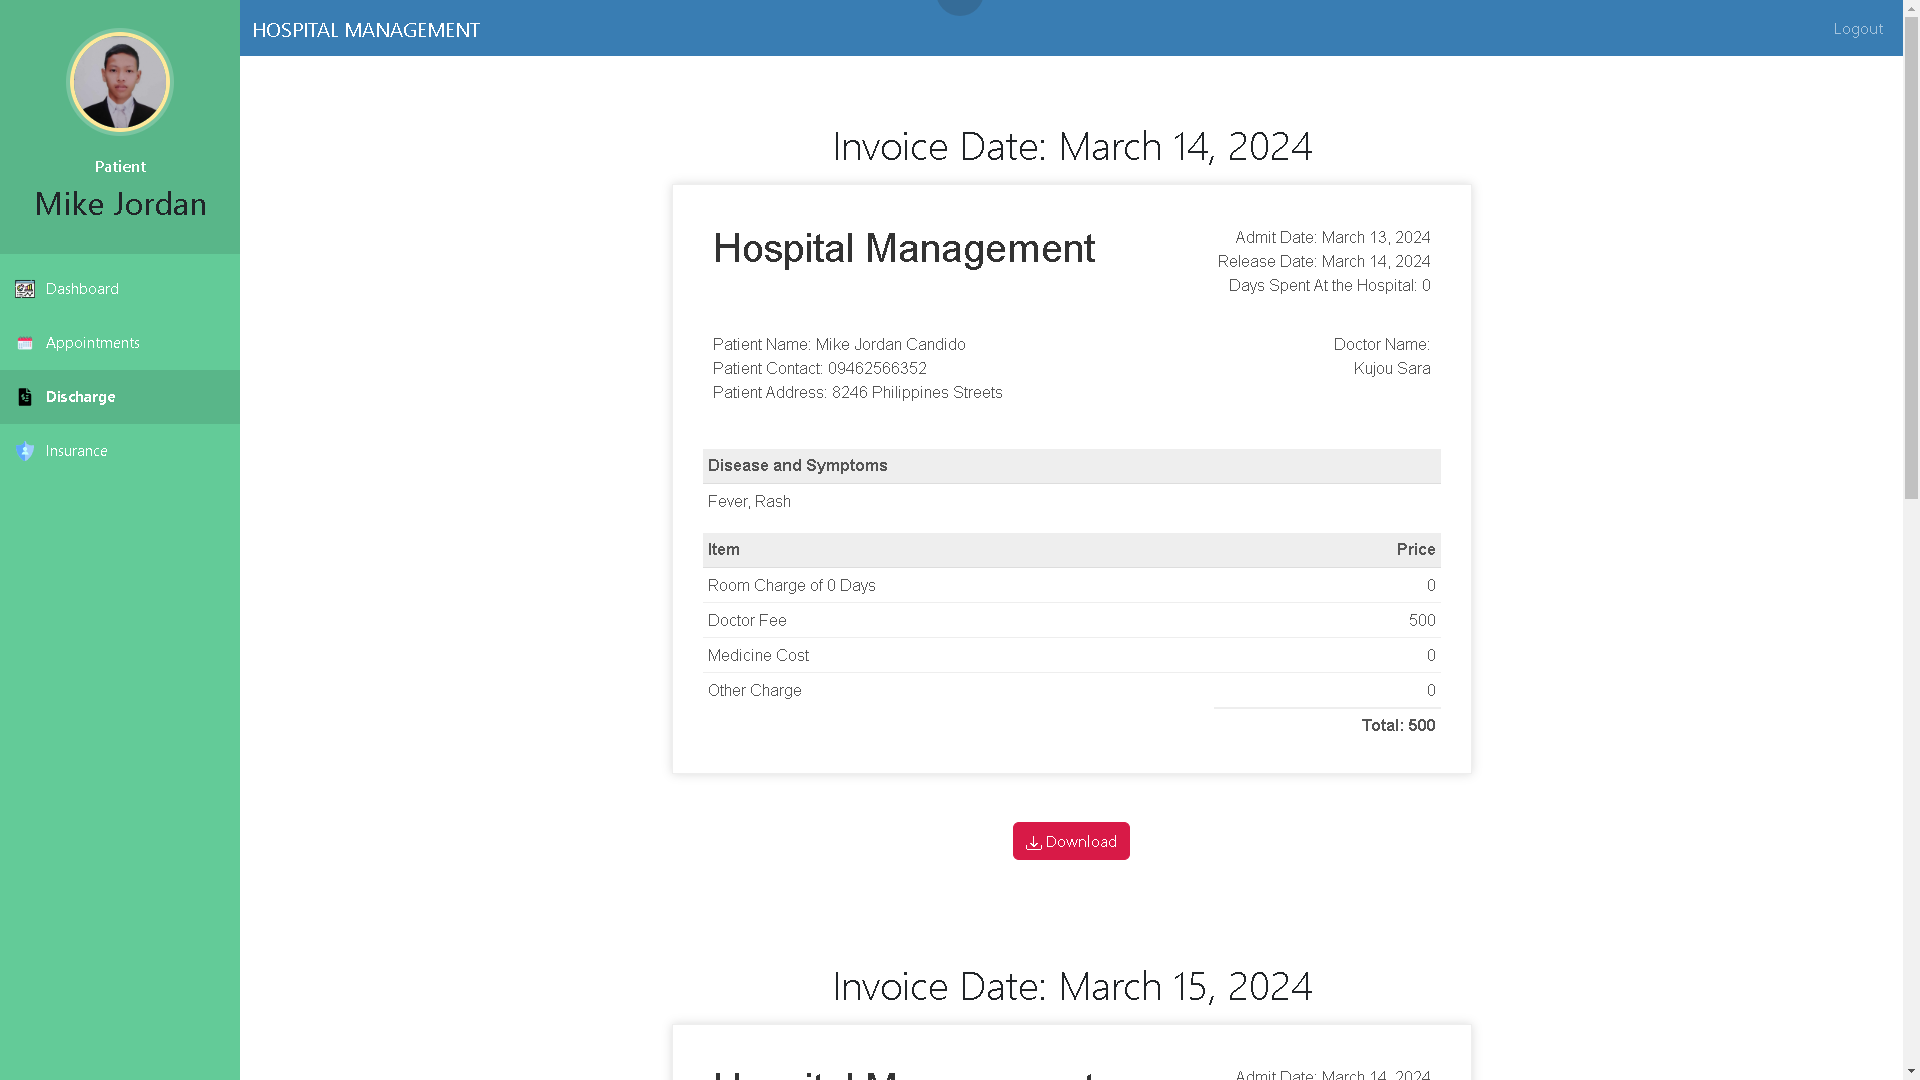
Patient Invoice
Requirements and Installation Instructions:
1. Python Installation:
For Windows:
- Download the latest Python installer for Windows from python.org.
- Ensure to check “Add Python to PATH” during installation.
- Verify the installation by opening a Command Prompt and running:
python --version
For macOS:
- Check if Python is installed by running:
python3 --versionIf not, install using Homebrew:
brew install python
For Linux (Ubuntu/Debian):
- Open a terminal and run:
sudo apt-get update sudo apt-get install python3 - Verify the installation:
python3 --version
2. Checking Python in PATH:
Ensure Python is added to the system PATH. Open a new terminal/command prompt window and run:
python --version
If it returns the Python version, you’re set. If not, update your system PATH.
3. SQLite Installation:
SQLite comes bundled with Python; no separate installation is usually needed.
4. SQLiteStudio:
Use SQLiteStudio as a GUI tool for managing SQLite databases. Download and install it according to your operating system.
With these tools installed and Python in your system PATH, proceed with setting up the Patient Information Management System as described in the previous README section.
Note: Ensure administrative privileges for installing Python and modifying the system PATH.
Generating SECRET_KEY and Email Credentials for this Django Project
In order to run the Patient Information Management System (PIMS), you’ll need to generate a SECRET_KEY for your Django project. This key is used for cryptographic signing and should be kept secret. Additionally, you’ll need to configure email credentials for email functionality within the application.
Generating SECRET_KEY:
To generate a SECRET_KEY, follow these steps:
- Open a Python shell or terminal.
-
Run the following command to generate a random
SECRET_KEY:python -c "from django.core.management.utils import get_random_secret_key; print(get_random_secret_key())" - Copy the generated key.
Configuring Email Credentials:
For email functionality within the PIMS project, you need to configure the following email credentials:
EMAIL_HOST_USER: Your email address used for sending emails.EMAIL_HOST_PASSWORD: The password for the email account.EMAIL_RECEIVING_USER: Email address where you will receive messages sent from the website.DEFAULT_FROM_EMAIL: The default email address used as the sender.
Follow these steps to configure email credentials:
-
Create a file named
.envin the root directory of your project, next to thesettings.pyfile (in thehospitalmanagementfolder in this case). -
Add the following lines to the
.envfile, replacing<generated_secret_key>with the actualSECRET_KEYyou copied earlier, and filling in the email credentials:SECRET_KEY=<generated_secret_key> # Email Backend EMAIL_HOST_USER=your_email_address EMAIL_HOST_PASSWORD=your_email_password EMAIL_RECEIVING_USER=your_receiving_email_address DEFAULT_FROM_EMAIL=your_default_email_address -
Save the
.envfile.
Now, your Django project will use the secret key and email credentials specified in the .env file. Remember not to share or expose these sensitive credentials publicly.
For more information on setting up and running the PIMS project, refer to the “Setting Up and Running the Local Server” section in the README.
Setting Up and Running the Local Server:
- Set up a virtual environment:
python -m venv venv - Set the execution policy for the current PowerShell session to RemoteSigned:
Set-ExecutionPolicy RemoteSigned -Scope Process - Activate the virtual environment:
venv/Scripts/activate - Install dependencies, apply migrations, and run the local server:
 pip install -r requirements.txt
 python manage.py makemigrations
 python manage.py migrate
 python manage.py runserver
Superuser Access to Django Database:
To create a superuser and access the Django admin site:
python manage.py createsuperuser
Note: Original Project: Hospital Management System Django by Sumit Kumar. This project uses Python with the Django Web Framework, SQLite as the database, and is developed as a web application.